Finishing armholes with bias tape
I just love bias tape. It takes a bit of effort to make but once you’ve got some in matching fabric it makes it so straight forward to finish any raw edges. This week we’ll be looking at applying the tape to armholes of a sleeveless garment. This technique will give you one visible stitch, the bias tape itself will be turned to the wrong side and will not be visible.
Firstly, you will need to either leave the side seam completely open or finish the seam up until about 1 1/2″ ( 3-4 cm ) from the armhole. You can use the shoulder seam as well, but I prefer the side seam since I don’t want to add any extra bulk on the shoulder.
If you are using home made bias tape, fold it in half lenghtwise, wrong sides facing. If you have purchased ready made bias tape, press it open first and then fold in the middle, wrong sides facing.
The tape I’m using here is about 3 cm wide, folded in half 1,5 cm, and I’m stitching about 6 mm from the edge. A standard bias tape is 4 cm ( 1,5 “) Stitch it 1 cm from the edge and trim seam allowance to 5-6 mm before turning to the wrong side.
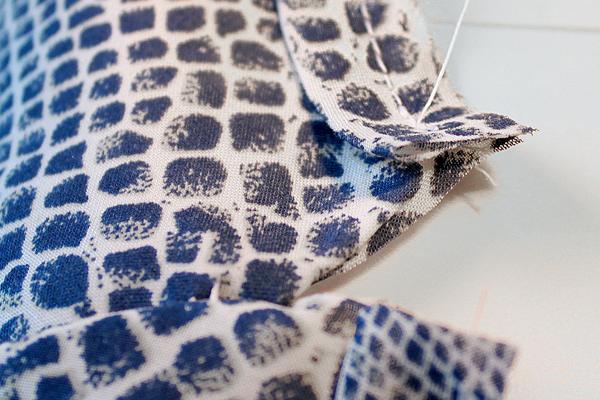
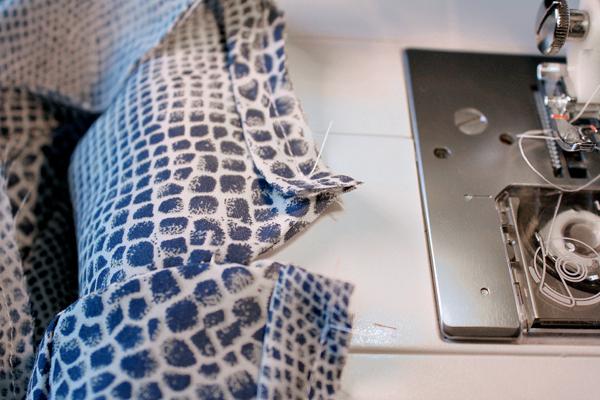
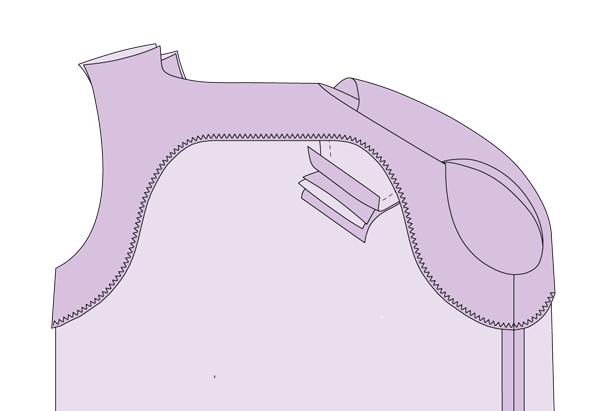
Starting and finishing at the open seam, stitch the tape in place, its raw edges matching the raw edges of the armhole.
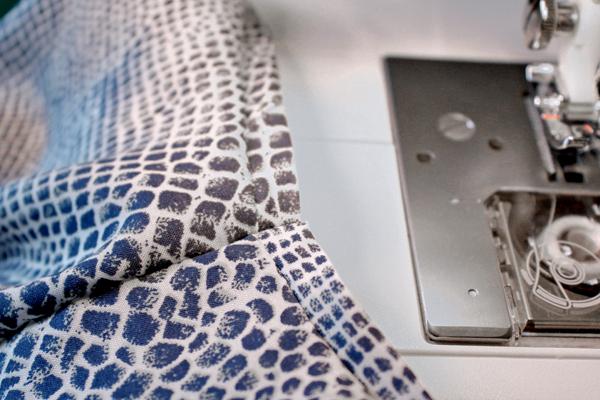
Press seam allowance towards the inside of the garment. Stitch side seam, also stitching together the ends of bias tape.

Press side seam open.
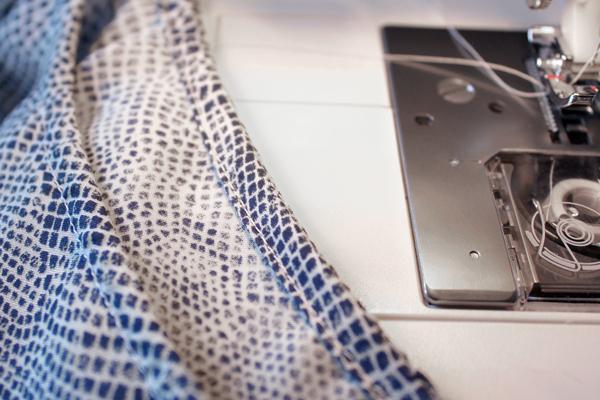
Fold bias tape over to the wrong side, so that the seam ends up slightly more on the wrong side and is not visible from the right side. Topstitch in place.

Leave a Reply