Olsen Dress sew-along – Part 1
Welcome to the first part of the Olsen dress sew-along! I hope you’ve all received the pattern link and managed to print your pattern. There’s still time to subscribe and get the pattern delivered to your inbox. If you’ve never used a digital pattern before see our tutorial on printing and assembling a pdf sewing pattern.
FABRIC
I’ve gathered a pinterest board of my favourite fabric options for this pattern. As you can see a lot of them are prints. This pattern is perfect for prints since it’s simple and has no seams across the front or back. The gathering on the elastic waist will of course distort the pattern so take that into consideration if you choose a large scale print.
Go for a light and summery fabric. There is no lining so make sure it’s not see-through. (Although I will be featuring a tutorial for adding a lining.) I recommend silk charmeuse, silk crepe, silk or polyester satin, viscose or rayon, any light to medium weight polyesters or poly-viscose blends. I actually rarely use cottons. I find that they crease easily and don’t drape well. I know that polyesters are not exactly environmentally friendly but they keep their shape and are easy to look after.
I used viscose for the sample. It’s one of my favourites because it’s easy to work with and has a nice drape. It also keeps you cool in the summer months. It does crease very easily so don’t go for viscose if you want to avoid ironing after every wash. Especially with the elastic waist the ironing will take some effort.

NOTIONS
As for notions, you only need elastic.
If you want, you can use interfacing to reinforce the hem fold, neckline and armholes. It’s not essential but if you’re working with silk or other delicate fabric do consider adding interfacing.
Take your waist measurement 2 cm (3/4″) below your thinnest part. This is how much elastic you will need. The elastic will end up being about 3-5 cm (1-2″) less than your waist measurement. Elastic changes as you sew it on and therefore it’s a bit difficult to know exactly how much you should subtract. I recommend sticking to the same elastic every time so that you know how it behaves.
Use elastic that is max 1 cm wide, since this is the width of the seam allowance it will be sewn onto. 5 mm, 1 cm and 1/4″ all work.
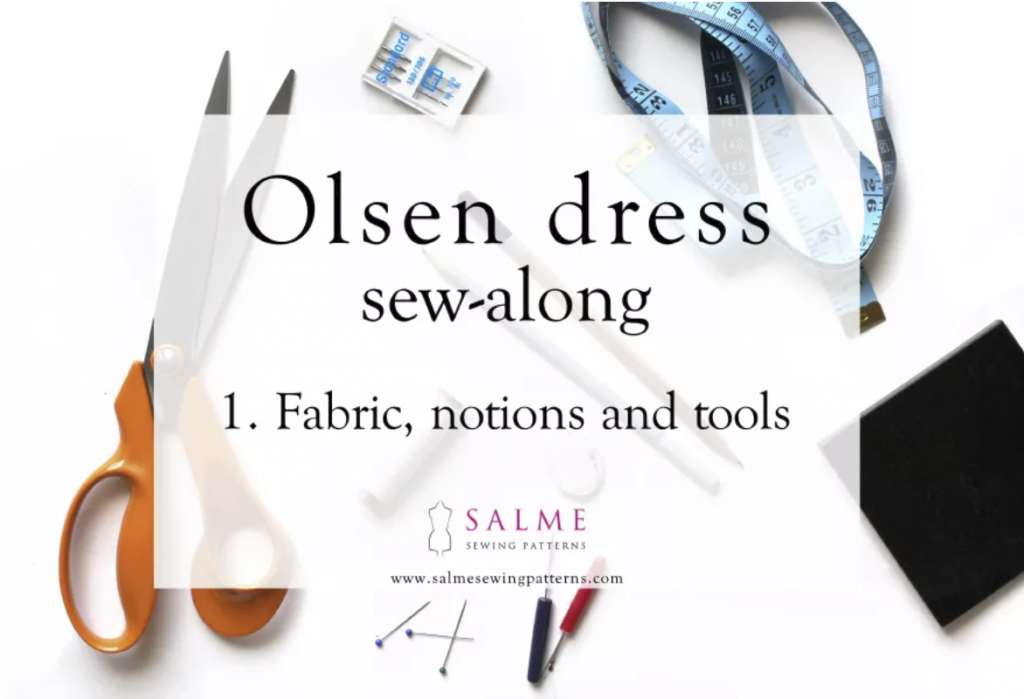
TOOLS
You will need:
• Tape measure
• Fabric weights
• Tailor’s chalk or marking pen (I use soft pencils)
• Sewing shears and/or rotary cutter and mat
• Matching thread
Also make sure you have a sharp needle on your machine that’s suitable for the fabric you’ve chosen.
Part 2 of the sew-along will show you how to make some pattern alterations.


Leave a Reply