Olsen dress sew-along – Part 4
Let’s start sewing!
STEPS 1 & 2
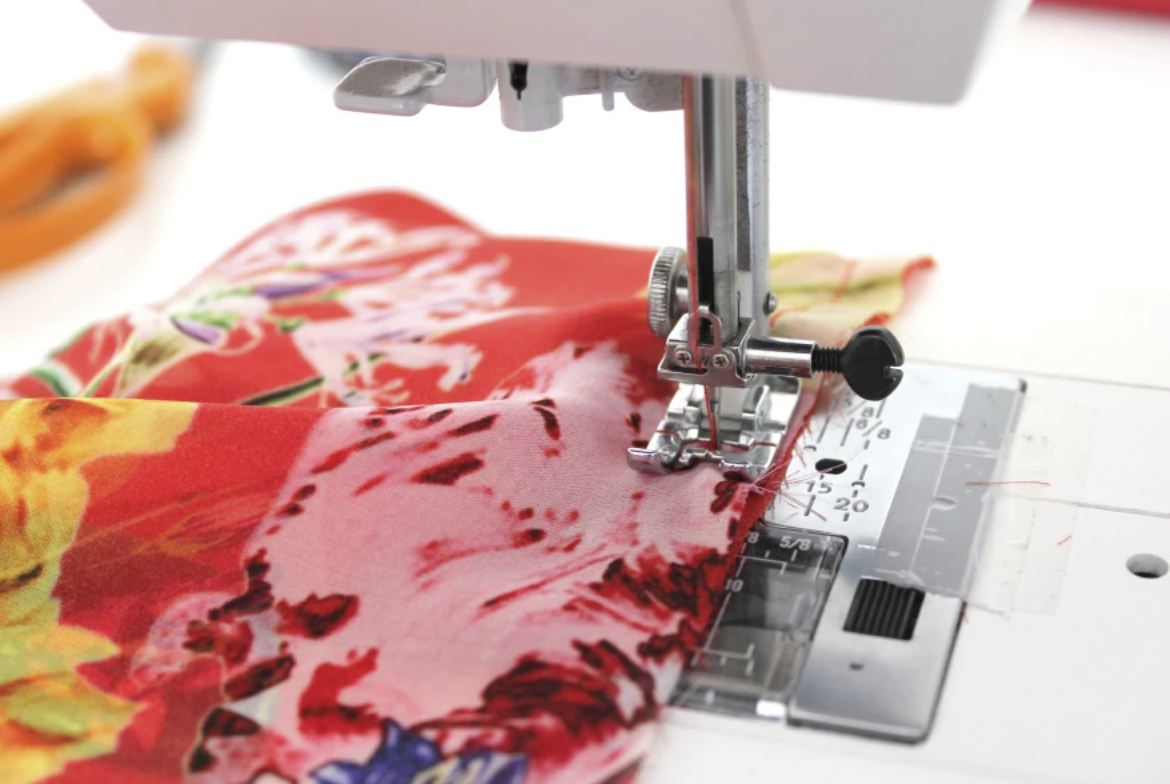
First up you’ll sew the side seams of both bodice and skirt pieces. You’ve got some options on seam finishes:
• French seams. I strongly recommend this for light weight and especially sheer fabrics. This is what I’ve used for the sample dress. French seams eliminate the need to zig zag the edges.
• Finish raw edges first – use your overlocker/serger if you have one, or a zig zag stitch on your regular sewing machine – then sew the seam. Press open.
• Sew the seam first, then finish raw edges, sewing the two layers together. Press to one side.
Remember to match the notches. Make sure that right sides are facing, except if you’re using french seams.
STEP 3
Once you’ve sewn and pressed the bodice, turn it so that right side is out. You will now slip it inside the skirt and match the edges of the waist.
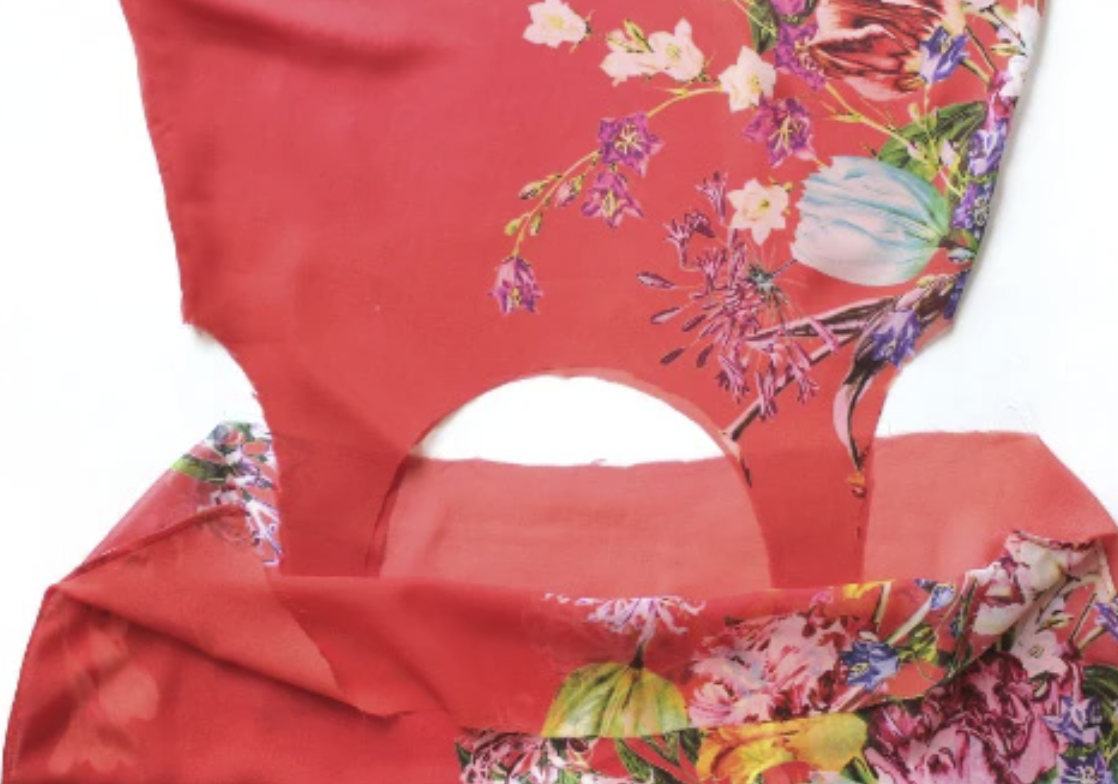
Check that the side seams match nicely.
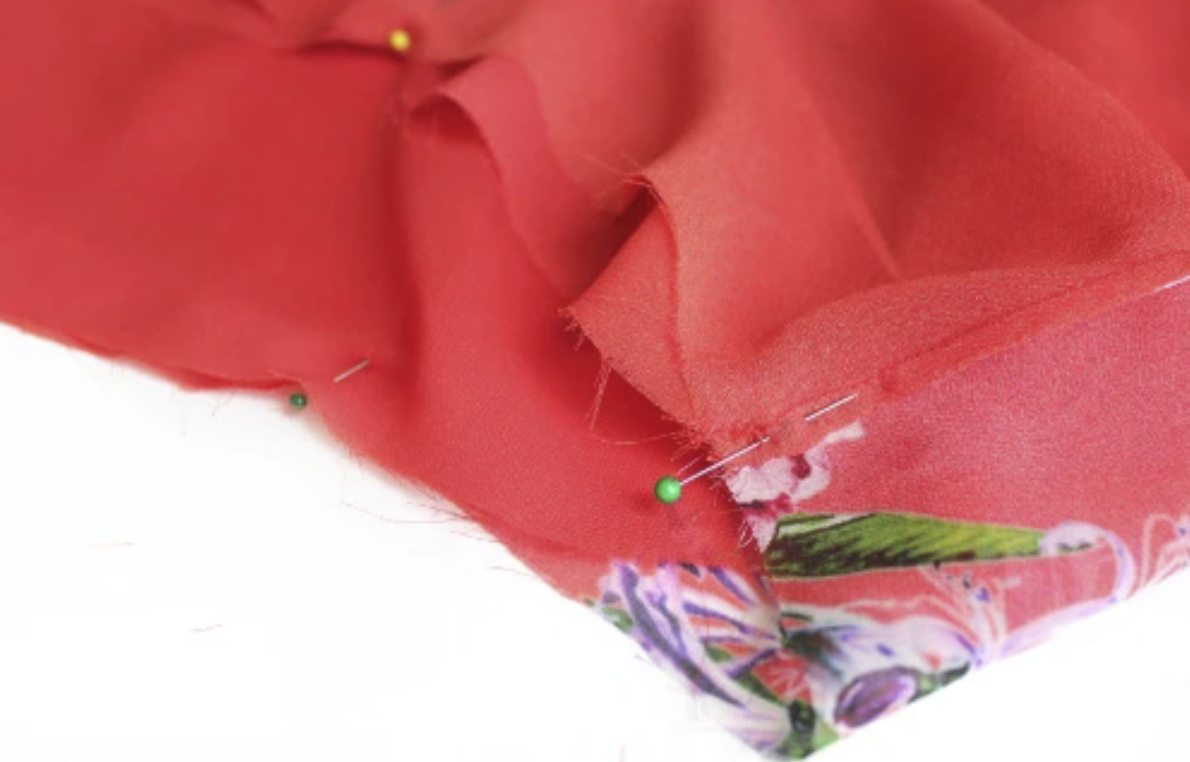
Sew waist seam.

The garment will now look huge but remember that the waist will be cinched with an elastic. You can at this point have a fitting just to test that the waist seam sits where you want it (designed to be just below your natural waist.)
STEP 4
There are two bias cut strips for the neckline. The reason these are a different length is so that the seam wouldn’t end up at the front. (The reason there are two pieces is simply to save fabric and make cutting easier, you can cut just one piece if you prefer!) Sew those two pieces together at an angle. Trim the seam allowance and press the seam open.


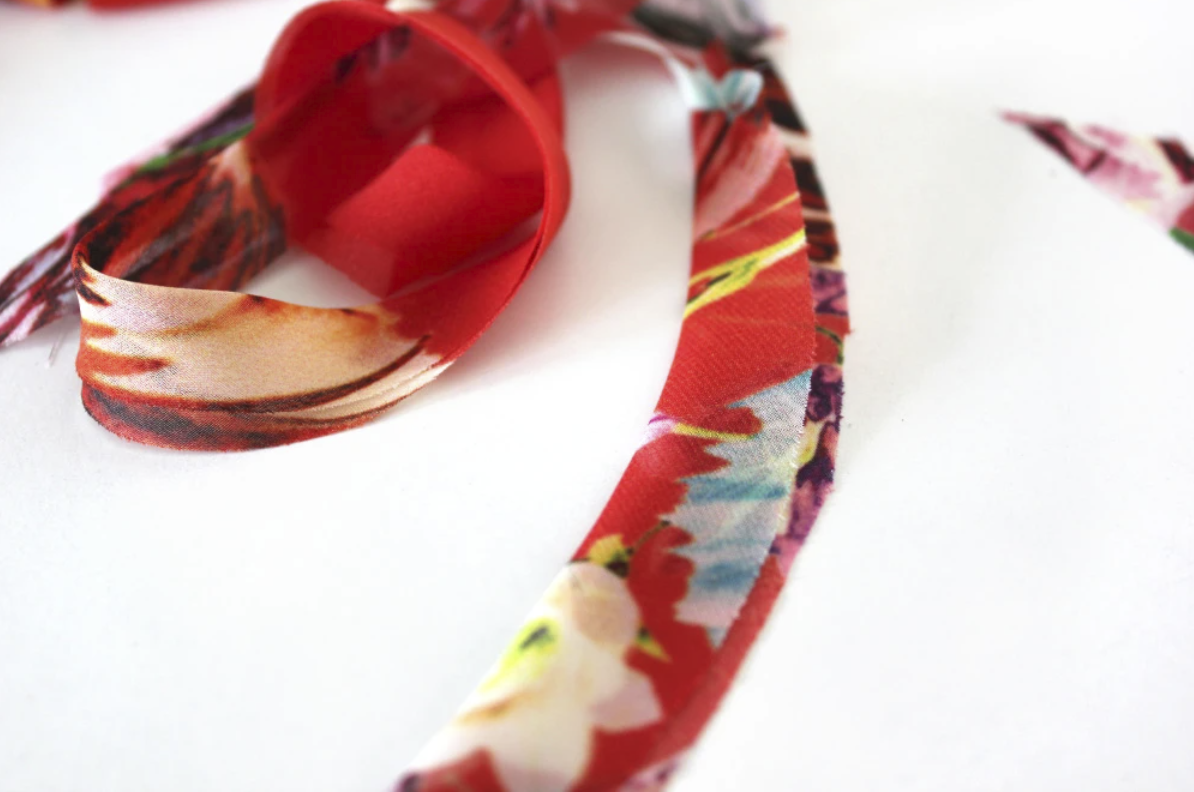
STEP 5
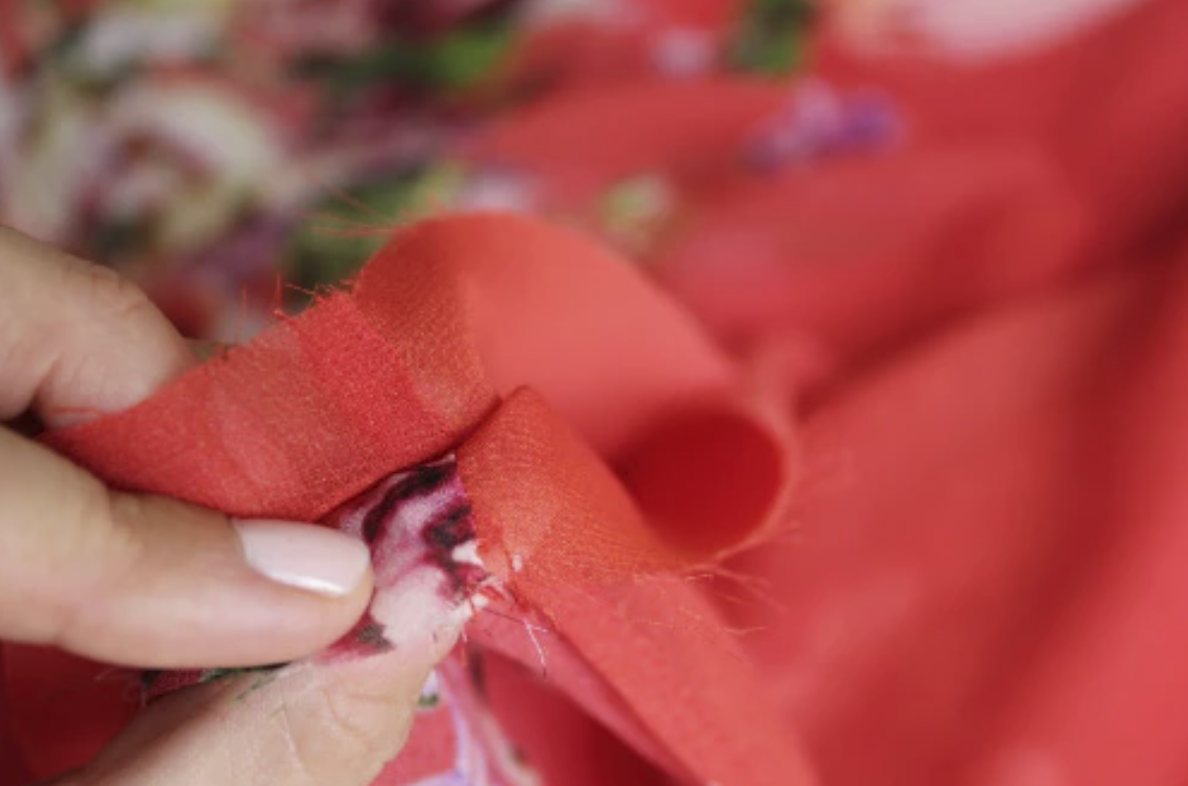
Now, let’s make the strips into bias tape. You can of course use the amazing bias tape maker if you have one. To make things easier later, you’ll want to try and make one side a tiny bit wider. This side will later be on the wrong side and will be easier to catch in the stitch when you’re giving yourself a bit more room for error.
First, fold in half lengthwise and press. Then use this crease as a guide to fold the edges to. Press again and you’re done.


Next up, steps 6 to 11 will show you how to attach the bias tape, finishing the neckline and armholes.

Leave a Reply