
How to add seam allowance
The most common question I get from my customers is how to add seam allowance. This was a strange question to me at first since I had never even heard of patterns that come with seam allowances included. My patternmaking instructor was adamant that seam allowances are never to be included in a pattern. I do agree that there are two things to consider when using a pattern with seam allowances included:
•You easily end up adding a bit to the pattern and should always make sure to cut away your tracing lines
•Any changes or adjustments are easier to do when you don’t have seam allowances to worry about. I often add color blocking details for example, and it’s easy to get confused with which edge already has seam allowance included and which doesn’t. A basic block that is used as a base for developing patterns should not come with seam allowance.
I hesitated about having seam allowances included in my patterns but decided in the end to start including them since it’s what the majority of my customers are used to. I then had to decide on the width. We’re all used to different widths but as you get better with your sewing you should get used to a narrower seam allowance. I went for what I’m personally used to, 1 cm (3/8″), partially because I’m very much against wasting fabric. I do realise that the American market is more used to 1/2″ or even 5/8″. In production, 3/8″ is usually the widest seam allowance you’ll ever see.
There’s no need to add seam allowance on the actual pattern, you can just as easily add it when cutting. The seam allowance is drawn on the fabric and the pattern remains as it is.
It’s simple really, you draw the pattern 1 cm (3/8″) from the edge instead of along the edge. You have to be aware of hem and zip allowances though, those require extra seam allowance. The second part of this blog post will be going through those bits in more detail.
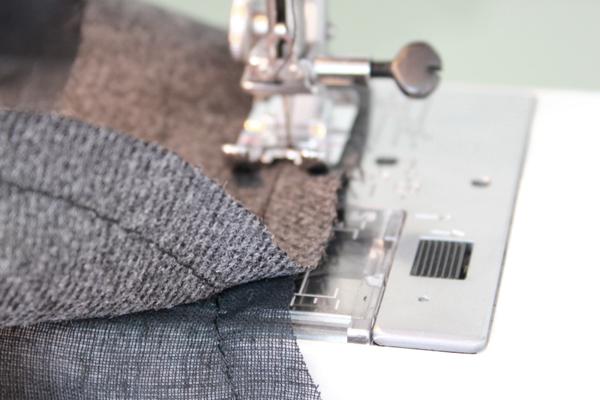
Although I recommend a grading ruler, you can use any measuring tool you have at hand. For curved edges, add short lines or dots at intervals, always keeping the measuring tool at a 90 degree angle to the seam line.

Here, I’m using something called Seams Right that’s a pretty useful tool. It does tend to add even more extra since the edges are quite thick so try to get the line as close to the edge as possible.

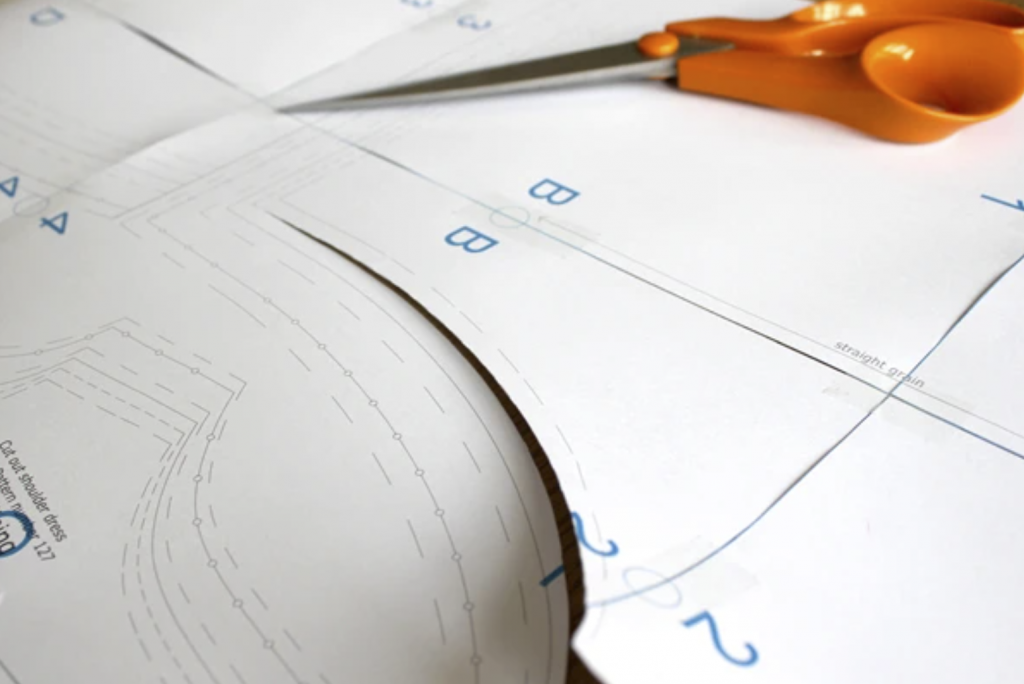
A clear grading ruler is such a great tool for this, especially for long straight edges. I use this Sew Easy one that goes together with my rotary cutter. For straight lines I just go ahead and cut without first marking them. If you’re using scissors you will always need to mark first.

Leave a Reply